How to turn your grill into a beautiful stone grill station
November 27, 2020
by Mr. Build It
There’s a good chance if you’ve stumbled upon our site, that you’re a fan of all things Barbecue and cooking!
We’re going to talk about a really cool way to take your boring grill just sitting outside and turn it into a built-in grill station to spice up your setup.
Our friend’s at Mr. Build It has made a really good video that explains exactly how to build it yourself. Let’s take a look.
The materials and laying down the foundation
We’re going to plan for about 20sqft to build out our grill station. For this particular project, here are the exact materials used in the video:
- Concrete Mix (x10 Bags @ 80 lbs)
- Gravel Mix (2 bags)
- Steel Reinforcement (x1 @ 4×8)
- 2×4 (x12)7/16”
- OSB (x2)
- 4×4 (x4)
- Cement Board (x2 @ 3×4)
- Galvanized flashing (1 Roll)
- Metal Galvanized Lath (x2 @ 3×6)
- Builder Felt (1 Roll)
- Mortar Mix (Type S) (x3 @ 80 lbs)1-½”
- Roofing Nails (1 box)3”
- Screws (1 box)1-½” screws (1 box)8×16
- Pavers (x12)
- Stone Veneer (40 sq ft)
- Masonry Adhesive
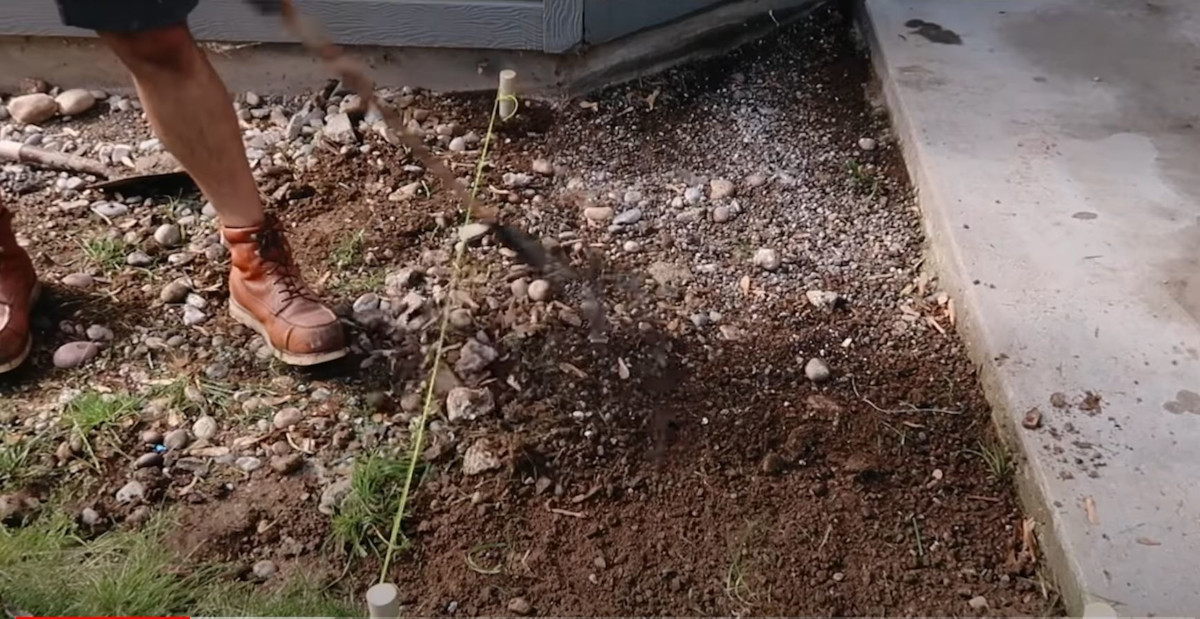
The first thing we’ll need to is measure out the area where the grill will go, we’re going to want to flatten the surface with the surface area slightly sloping away from the house.
Throw down a bag of gravel and spread it out on the measured surface. Then take the 2x4s and board around the measured area where the grill will go.
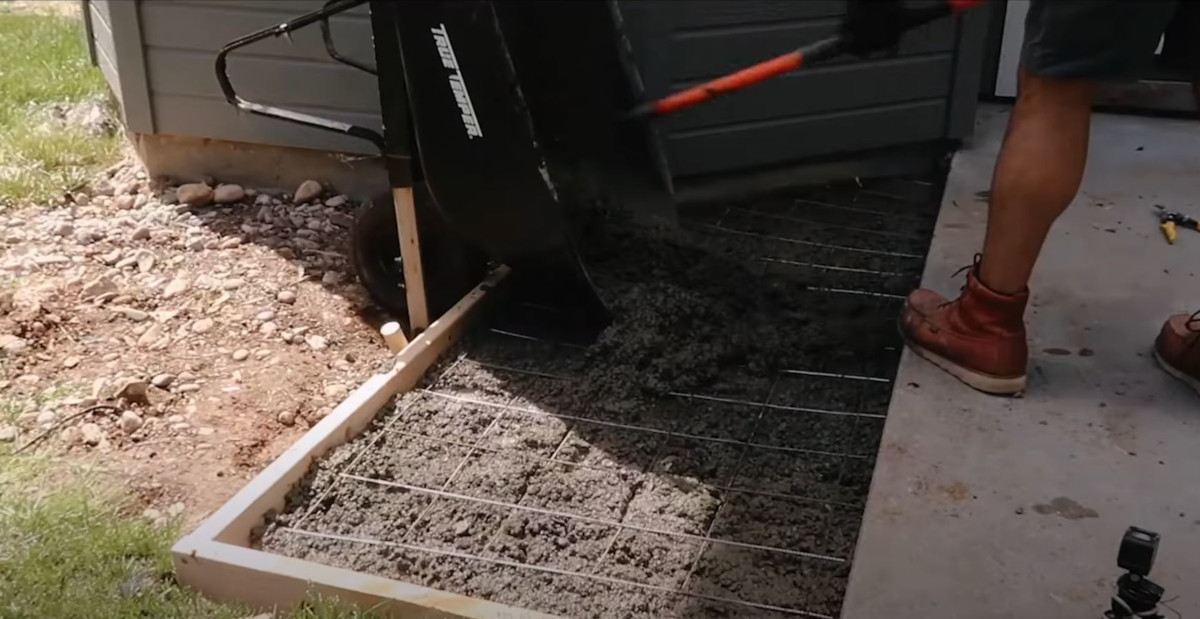
Once the measured area is boarded around with 2x4s and the gravel is laid down, we’re going to take our concrete mix and lay that down over the flattened surface so it’s almost half way to the top of the 2x4s.
Now that we’ve laid out half the concrete mix, we’re going to take the steel mesh and place it over the concrete mix. Then, take the rest of your concrete and fill it to the top of the boarded area.
After we’ve put the concrete mix over our area, we will need to smooth it out with our tools.
Use 2x4s to make the base for your grill
In the video, Alex shows you how to take the measurements of your grill to build a wooden base for your grill to sit on top of.
We’re going to build your base with 2x4s and off the measurement of your grill and frame the top of the base so it will resemble a countertop.
Once the base is build with the 2x4s, we’re going to use 7/16inch OSB boards to secure the sides and the tops of this base.
After the base for the grill is built, we’re going to wrap around and cover the whole base with builder felt and staple that and make sure it is secure. This helps keep moisture out from seeping into the area.
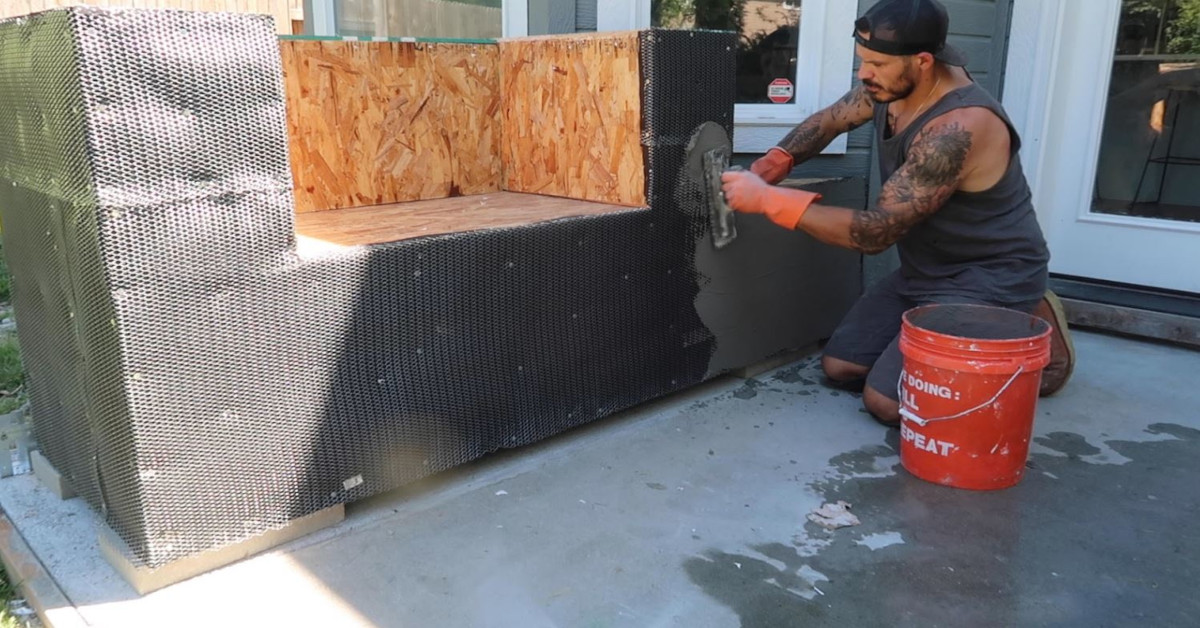
Once the builder felt is wrapped around the base, take the galvanized lath and tightly wrap it over the builder felt with 1-1/2inch roofing nails. You want to make sure the wrap is secure and isn’t loose and you have about a nail almost every 6 inches.
We will then take our Mortar mix and apply it to the base until the metal mesh can no longer be seen.
Now that the mortar and second layer have been applied we are ready to go! It’s time to add the stone veneers which is really going to give this grill station that look we’re going for.
When installing the stone veneers, use some of the mortar that was applied and use that as an additional adhesive for the stones and while doing so, make sure you don’t feel any loose metal mesh that we previously applied before the mortar.
There you have it
Alright guys, there you have it. Your own DIY project to take your grill station to the next level. If you wanna switch out the stone veneers for another material that may give it another look, go for it!.
Make sure to check out Mr. Build It and this video to learn how to build a beautiful grill station in your backyard.
Give it a shot, we know your wife will love it!
Give your firepit a makeover
Cool pallet board projects


